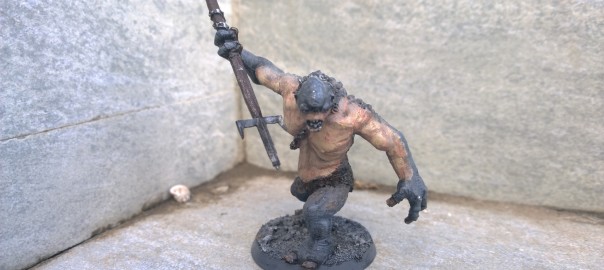
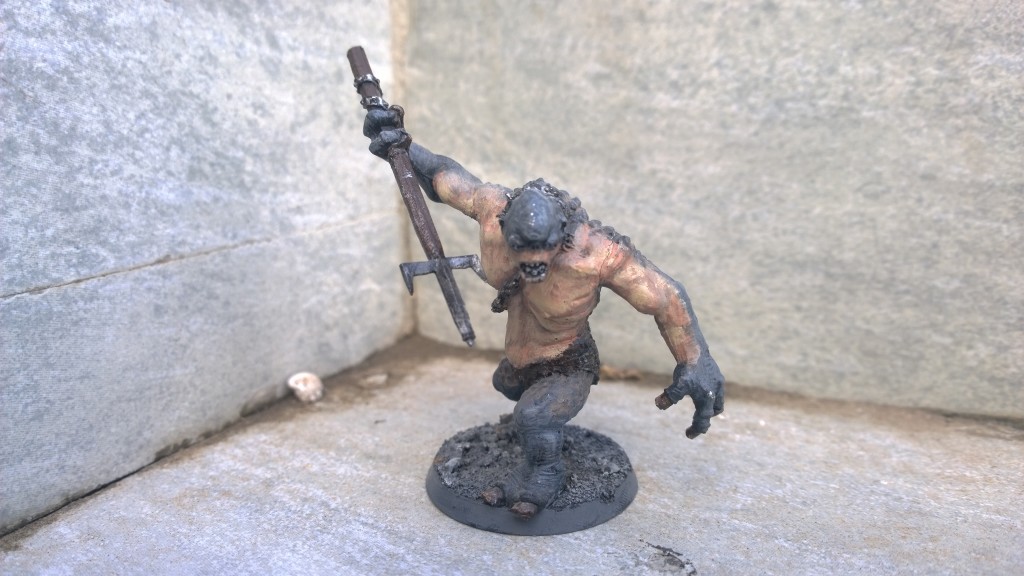
Many years ago I used to play Games Workshops Lord of the Rings table top game. Naturally following this hobby I painted a number of models. One such model was the Cave Troll from Moria.
I spent awhile rummaging around the net for a good resource to remember how I painted the model and the best resource I found was from a Youtube channel which had a series of videos on how to paint a Cave Troll. I have written a summary to accompany the video series (paint name reference sheet).
Stage One: Assembly & Base Coat
To start first assemble your model, this involves:
- Testing that joints fit together and filing them down if necessary (metal).
- Making customization’s to your model and base as per your preference.
- Gluing model parts together.
- Attaching the assembled model to its base.
- Applying a base coat of Chaos Black (can be done in White but I did it in Black).
Stage Two: Base Colors & Some Dry Brushing
Base colors used here were:
- A dark grey (Mechanicus Standard Grey) over the back, shoulders, legs, outer arms which we shall call ‘Dark Flesh’.
- A dark fleshy color (Cadian Fleshton) over areas like chest and inner arms, which we shall call ‘Light Flesh’.
- A dark brown (Rhinox Hide) on the nails and loin cloth.
- A dark metallic color (Leadbelcher) on metal items like the hammer and neck chain, metal clasps on loin cloth.
- Dry brushing a lighter grey color (Dawnstone) over the ‘scales’ on the Cave Troll’s back.
Stage Three: Washes and Layering
- Teeth and eyes in a light white color (Ushabti Bone).
- A brown wash (Agrax Earthshade) over the entire model after painting the teeth.
- A layer of lighter brown (Mournfang Brown) over the nails and loin cloth (when layering leave visible some of the previous layer).
- Add a layer to the nails in a yellowy color (Zamesi Desert).
- Drybrush the Dark flesh with the lighter grey color (Dawnstone).
- Layer the Light Flesh with more of the dark fleshy color (Rhinox Hide).
- Highlight the metal items with more of the dark metallic color (Leadbelcher).
Stage Four: Final Highlights
- A light fleshy color (Bestigor Flesh) for the skin.
- A light metallic color (Ironbreaker) to highlight the metal items.
- The loin cloth fine highlighted with a light brown color (Mournfang Brown).
- Nails highlighter with a light white color (Ushabti Bone).
Once you have completed all these steps hopefully your Cave Troll will look something like the following (forgive the chipping, its been quite awhile since I painted it).
Noticeable differences between my version and his is:
- I use different paints for the Cave Troll’s skin, namely Dwarf Flesh as the base coat.
- My highlighting technique with the light fleshy color is different.
- His model has a hammer whereas my Cave Troll has a spear.
- Work was done on the base. Grey was painted on the rim of the base as well as stones and tiny pebbles were glued to the base before base coating in black. Then I painted over the rocks in a base coat of grey leaving black in the gaps, then dry brushed with a lighter grey.
- I used a watered down wash of the darkest skin color for the darker skin areas in between the ‘scales’ on the Cave Troll’s back.


Thanks for this, a big help as I was a bit daunted with a big model and the two tone skin. Turned out well so thanks!