Lately I’ve been itching to practice my level design skills. I’ve found such an opportunity with Total War Warhammer 2 where Creative Assembly has made their battle map editor Terry available for public use.
Therefore to practice my level design skills I’ve decided to take my love of Total War, my design skills, and support from the existing map making community to try my hand at creating maps for Warhammer 2.
Paper Mapping
First I tried some paper mapping for an existing Warhammer map called Atldorf.
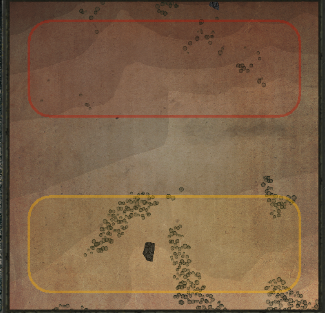
In-Game Top Down 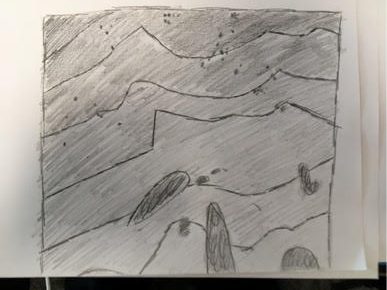
Paper Map Copy
Map Remake
Next I thought it would be good to remake a map. The map I chose to copy was a tutorial map from the map community. My intent was to make a bare bones version so I can focus on practicing using the tool. I began with studying the tutorial map.
For me the development process was loosely:
- First pass at terrain, textures, and water.
- Setup of deployment zones & playable area.
- Test.
- Second pass at terrain and textures (more detail work).
- Test.
- Rinse and repeat steps 4-5.
Some In-Editor Shots
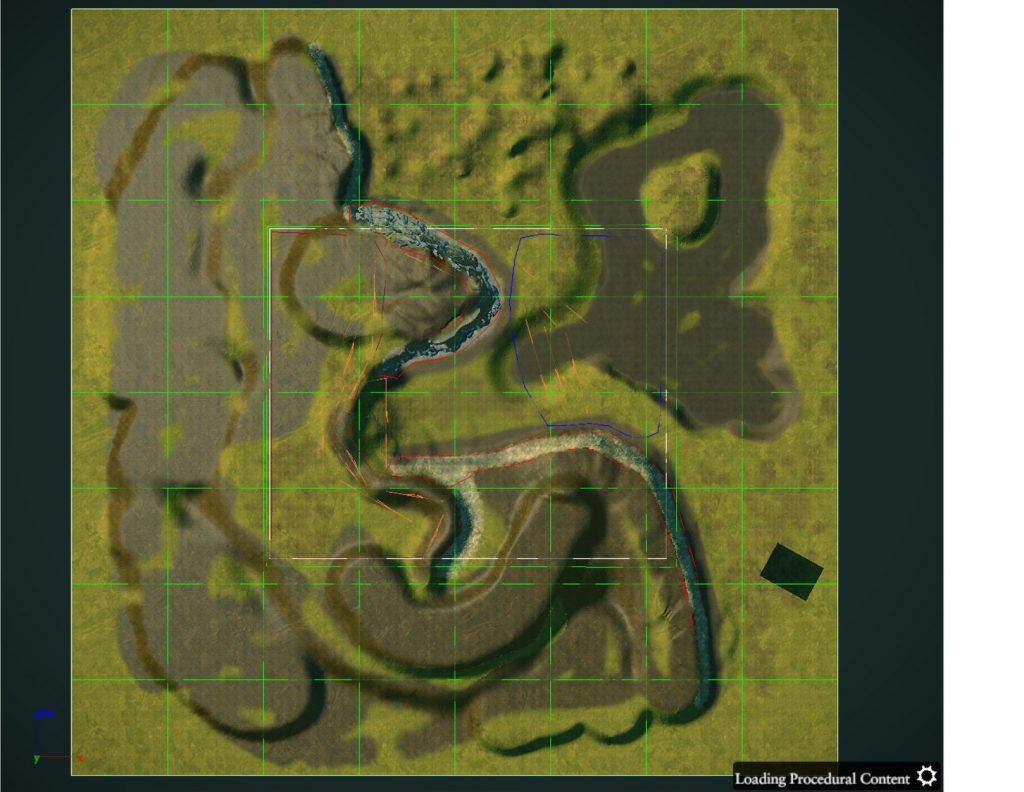
Tutorial Map by Frodo45127 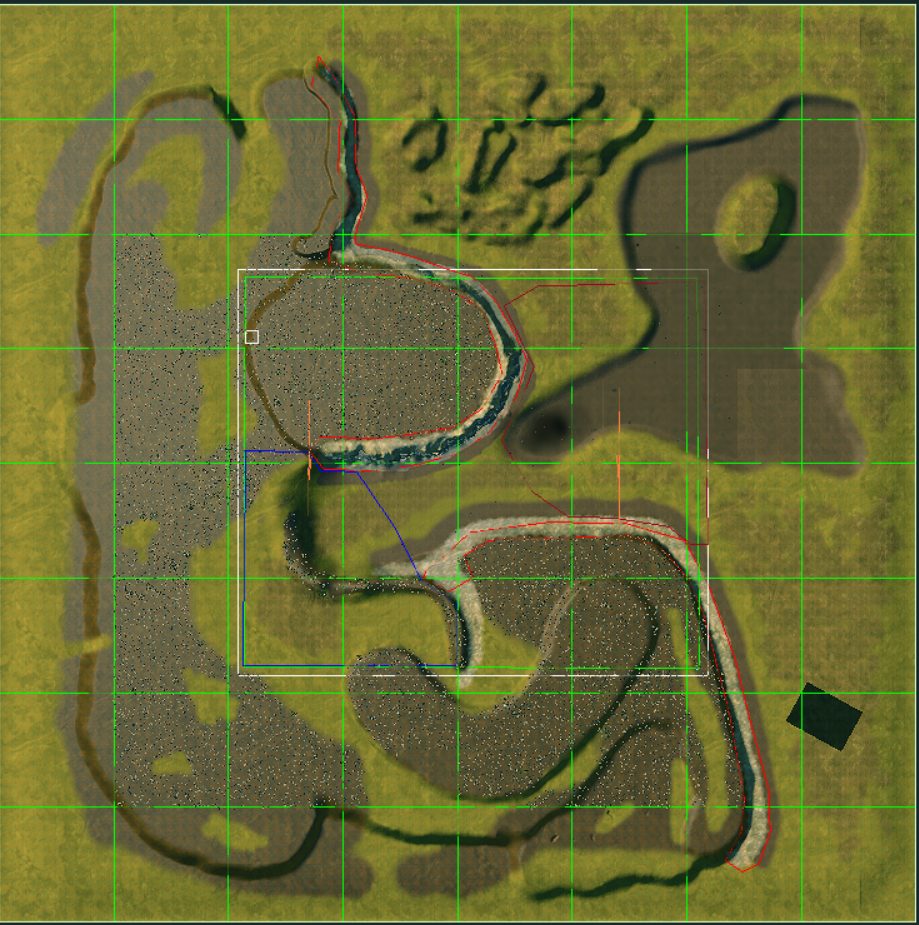
Replication Exercise Result by me! 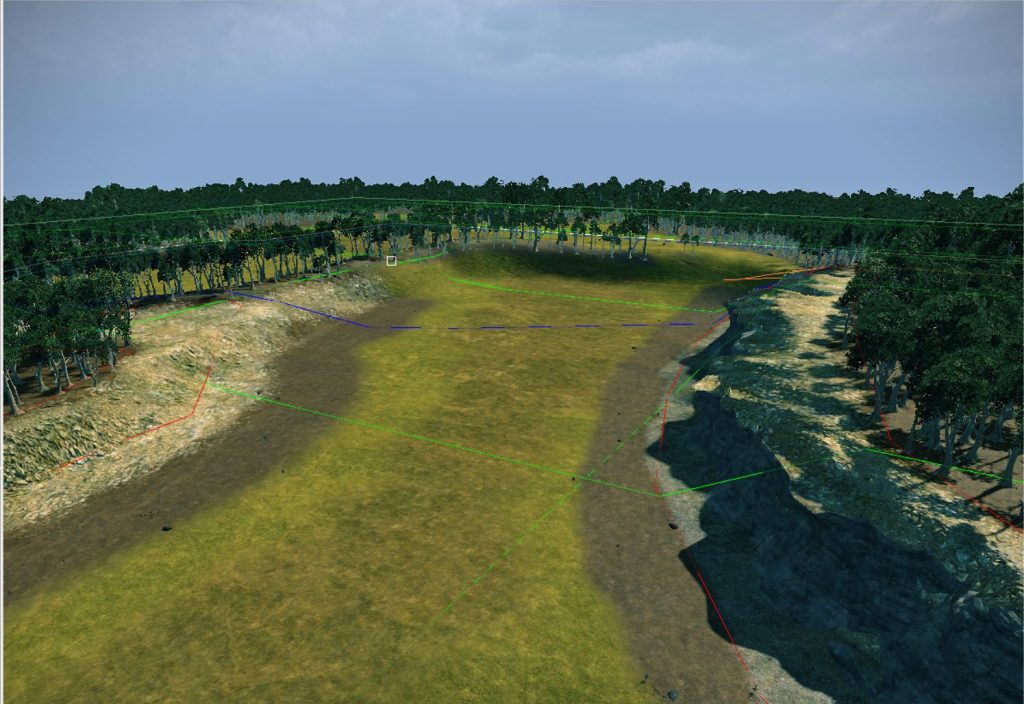
Perspective from Terry.
Some In-game Shots


Next I plan to practice creating a map, this time with an imported height map!
Some Useful Resources:
Some Tips:
- Have Warhammer 2: Total War Running in windowless so you easily use it, and Terry together.
- Have the Go-Region totally eclipse the playable area and close up areas with no-go regions
- Sample Map Object Hierachy Structure:
- Buildings (File Layer)
- Cliffs (File Layer)
- Default (File Layer)
- Scale Reference (Object)
- Logic (File Layer)
- Deployments (Logic Layer)
- AI Hints (Objects)
- Deployment Zones (Object)
- No-Go Regions (Logic Layer)
- No-Go Regions (Objects)
- Playable Area (Object)
- Go Region (Object)
- Deployments (Logic Layer)
- Water (File Layer)
- Water (Objects)